Storm Damage
7-Step Guide to Fixing a Roof Leak Before It Becomes a Bigger Problem
If you’re wondering how to fix a roof leak before it turns into serious damage, you’re not alone. A small drip can quickly become a major issue, especially in storm-heavy areas like North and South Carolina.
Roof leaks rarely fix themselves, and waiting too long can lead to structural damage, mold growth, and expensive repairs. The good news is that taking the right steps early can help you stay ahead of the problem.
- Early detection: Catching a leak quickly helps prevent mold, insulation damage, and costly interior repairs.
- Proper repair approach: Not all leaks are the same, so understanding the cause is key to fixing it correctly.
- When to call a professional: Knowing your limits can prevent temporary fixes from turning into bigger problems.
What Causes a Roof Leak in the First Place?
Before jumping into repairs, it’s important to understand what caused the leak. Without addressing the root issue, even the best repair can fail over time.
Roof leaks are often the result of storm damage, aging materials, or improper installation. Identifying the source will help you determine whether it’s a quick fix or something that requires professional attention.
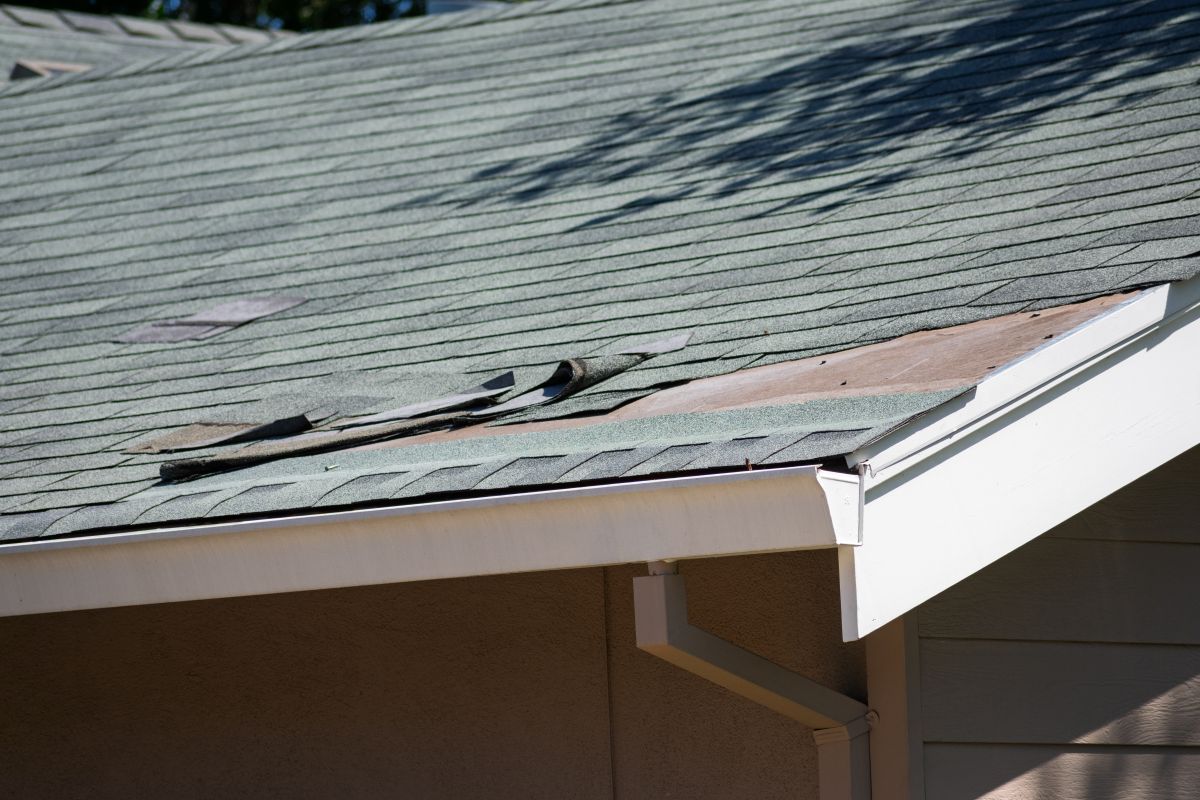
Damaged or Missing Shingles
Shingles are your roof’s first line of defense, and when they become damaged or go missing, your home is immediately more vulnerable to water intrusion. Strong winds, hail, and heavy rain can loosen or tear shingles away, exposing the layers beneath. Even a small section of damage can allow water to seep in, especially during prolonged storms.
- Wind damage: High winds can lift shingles and break the seal that keeps them in place.
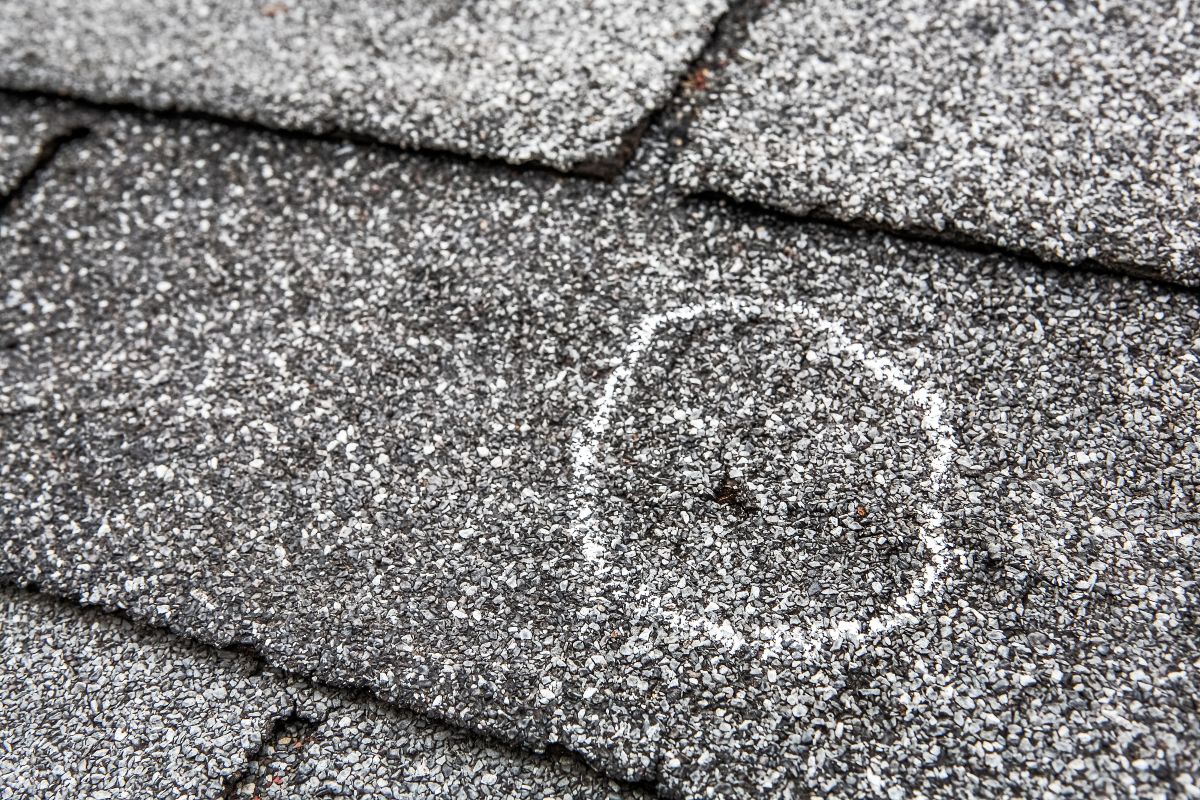
- Hail impact: Hail can crack shingles or knock off protective granules.
- Missing shingles: Exposed underlayment creates a direct path for water entry.
Flashing Failures Around Roof Features
Flashing is installed around roof penetrations like chimneys, vents, and skylights to create a watertight seal. Over time, flashing can corrode, loosen, or crack, which allows water to slip through these critical areas. Because these are natural weak points in any roofing system, even minor flashing issues can lead to noticeable leaks inside your home.
- Cracked flashing: Metal flashing can split or deteriorate with age.
- Improper installation: Poorly installed flashing may not seal correctly from the start.
- Sealant breakdown: The materials used to seal flashing can wear down over time.
Worn or Aging Roofing Materials
Every roof has a lifespan, and as materials age, they become less effective at keeping water out. Shingles can become brittle, lose their protective coating, and fail to shed water properly. If your roof is older, leaks may be a sign that the system as a whole is beginning to fail rather than a single isolated issue.
- Granule loss: Shingles lose their protective layer, making them more susceptible to damage.
- Brittle materials: Aging shingles can crack under pressure or temperature changes.
- General wear: Years of exposure to the elements weaken the overall system.
How to Locate the Source of a Leaking Roof
Finding the exact source of a leak can be more difficult than it seems. Water often travels along beams and insulation before dripping into your living space.
Taking the time to properly inspect your home and roof can help you pinpoint the issue and avoid unnecessary repairs in the wrong area.
Check Your Attic First
Your attic is one of the best places to start when tracking down a roof leak. During daylight hours, you can often see signs of water intrusion, including stains, damp insulation, or even small beams of light coming through the roof boards. These indicators can help you trace the path of the leak back to its origin point.
- Water stains: Discoloration on wood or insulation often signals moisture intrusion.
- Damp insulation: Wet insulation can indicate active or recent leaks.
- Light penetration: Visible light may point to gaps or holes in the roof.
Inspect the Roof Surface Safely
Once you have a general idea of where the leak is coming from, you can inspect the roof surface. Safety should always be your top priority, so avoid climbing onto the roof unless you are confident in your ability to do so safely. In many cases, a ground-level inspection can still reveal obvious issues.
- Missing shingles: Gaps in the roof surface are easy entry points for water.
- Debris buildup: Leaves and branches can trap moisture and cause damage.
- Visible damage: Cracks, dents, or lifted materials may indicate problem areas.
Look for Signs After Rain
Timing your inspection after a rainstorm can make it easier to identify the source of a leak. Water paths are more visible, and you can better understand how moisture is entering your home. Paying attention to patterns can help you narrow down the affected area.
- Active drips: Water entering your home during rain is a clear indicator of a leak.
- Moisture trails: Follow water marks to trace the leak’s origin.
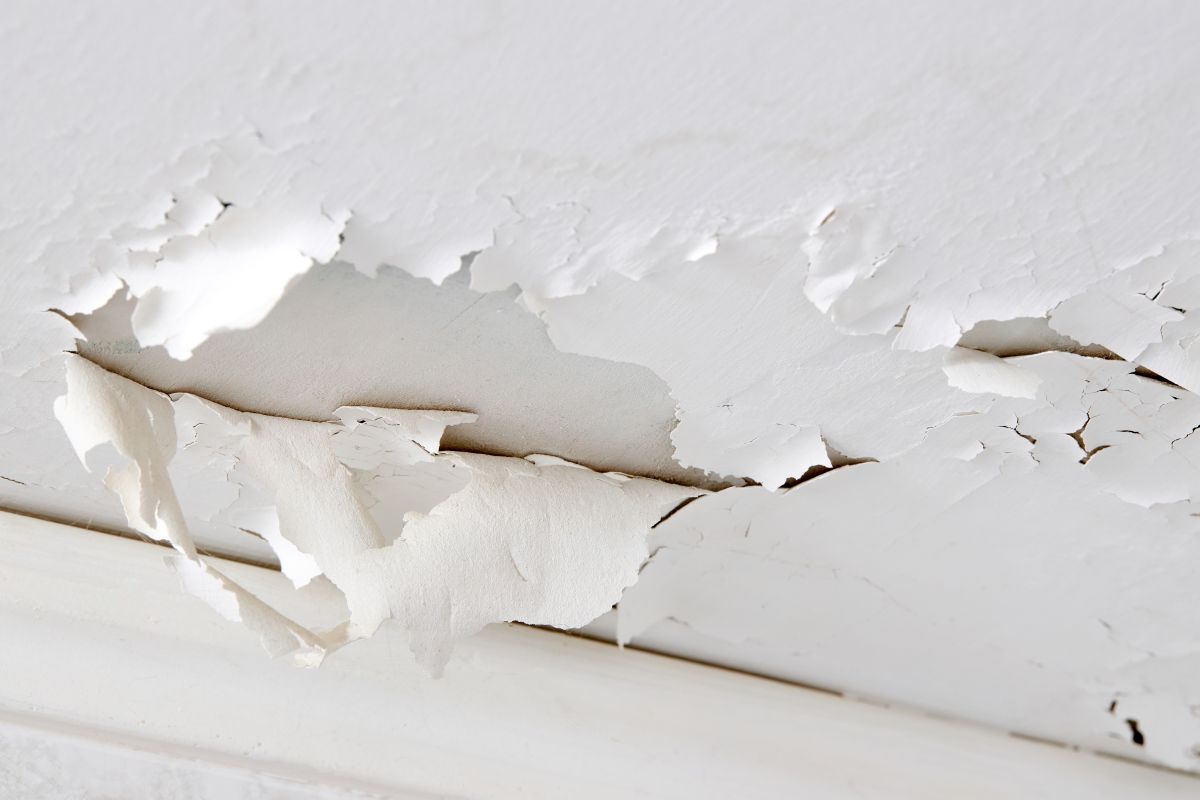
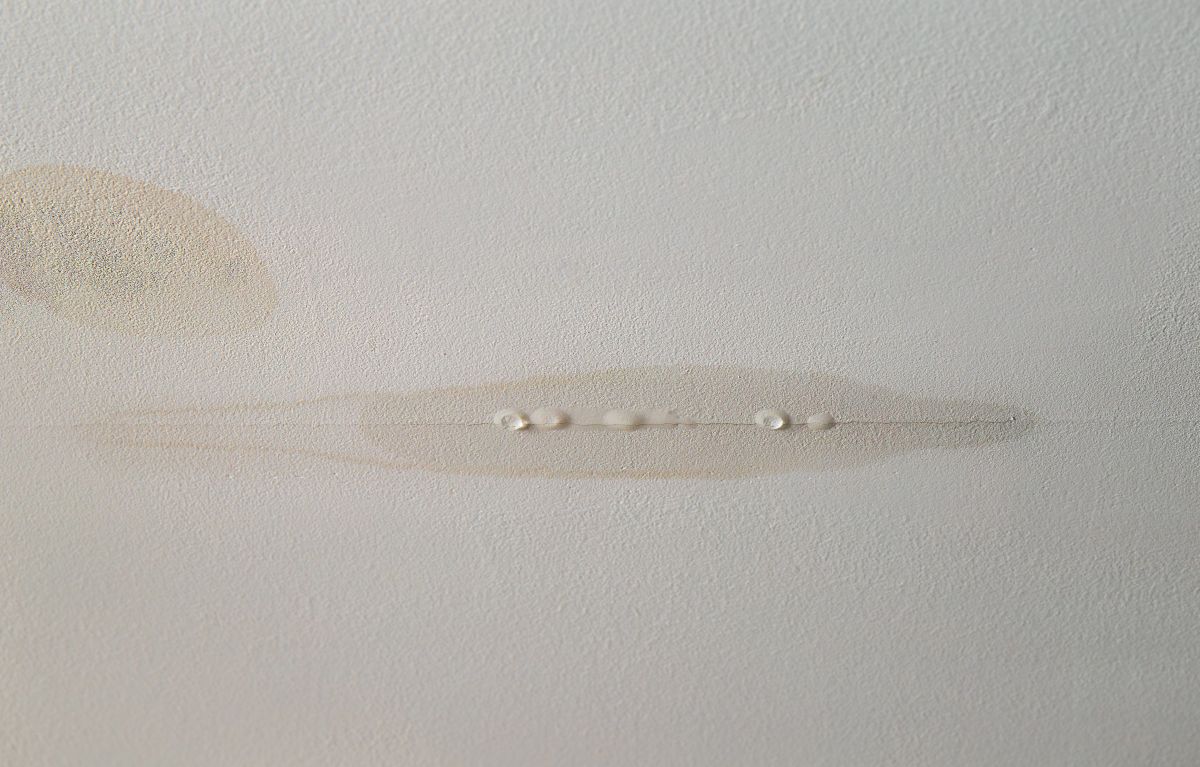
- Ceiling stains: Discoloration often expands after rainfall.
7 Steps to Fix Roof Leaks with Roof Repair
Once you’ve identified the source, you can begin addressing the issue. These steps outline a practical approach to handling a roof leak before it worsens.
1. Contain the Water Inside Your Home
Before doing anything outside, your priority should be minimizing interior damage. Water can quickly ruin flooring, drywall, and personal belongings if left unchecked. Placing containers under the leak and moving valuables out of the area can help limit the impact while you prepare for repairs.
- Use buckets or containers: Catch dripping water to prevent floor damage.
- Protect belongings: Move furniture and valuables away from the affected area.
- Dry the area: Reduce moisture buildup to prevent mold growth.
2. Relieve Water Pressure
If water begins pooling in your ceiling, it can create a bulge that may eventually collapse. Carefully releasing that pressure can prevent more extensive damage. This step should be done cautiously to control where the water goes.
- Controlled drainage: Puncture bulging drywall to release trapped water.
- Prevent collapse: Reduces the risk of sudden ceiling failure.
- Limit spread: Helps contain water to a manageable area.
3. Apply a Temporary Tarp
A tarp can provide immediate protection from further water intrusion. This is especially important if bad weather is ongoing or repairs cannot be completed right away. While not a permanent solution, it is an effective short-term safeguard.
- Immediate coverage: Blocks additional rain from entering the home.
- Secure placement: Prevents the tarp from shifting in wind.
- Temporary protection: Buys time until proper repairs are made.
4. Remove Damaged Materials
To properly fix a leak, you need to remove the materials that are no longer doing their job. This may include broken shingles, damaged flashing, or compromised underlayment. Clearing the area allows you to rebuild it correctly.
- Remove broken shingles: Eliminates compromised materials.
- Expose the area: Helps you fully assess the extent of the damage.
- Prepare for repair: Creates a clean surface for replacement materials.
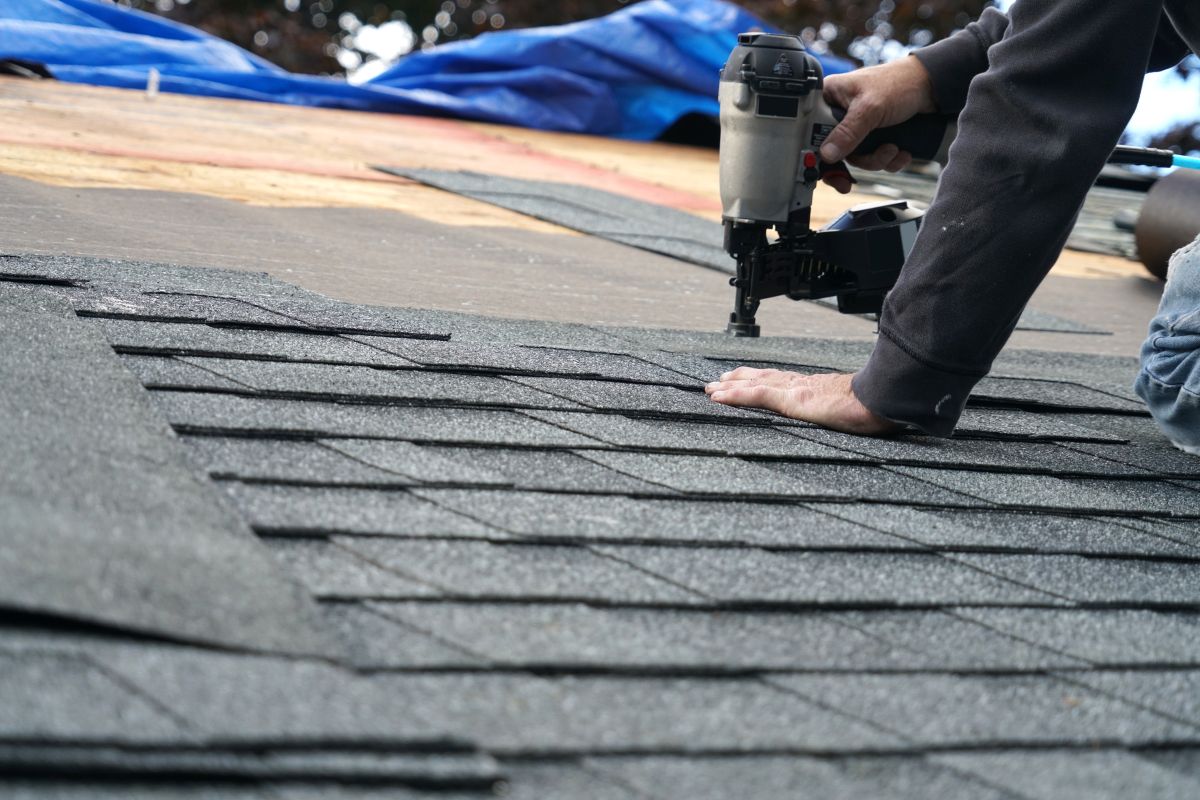
5. Install Replacement Materials
Once the damaged materials are removed, new components must be installed correctly to restore protection. Proper installation is key to ensuring the repair holds up over time and withstands future weather conditions.
- Match materials: Use the correct shingles or flashing for your roof type.
- Secure installation: Ensure everything is properly fastened.
- Restore protection: Rebuilds the roof’s barrier against water.
6. Seal Vulnerable Areas
Sealing joints, edges, and exposed nails is an important step in preventing future leaks. Even small gaps can allow water to seep in, so taking the time to properly seal these areas can improve the durability of your repair.
- Apply roofing sealant: Protects seams and edges from water intrusion.
- Cover exposed nails: Prevents leaks at fastening points.
- Reinforce weak spots: Strengthens areas prone to damage.
7. Monitor the Repair
After completing the repair, it’s important to monitor the area to ensure the problem has been fully resolved. Checking after the next rainfall can help confirm that your fix is holding up and that no additional issues remain.
- Check after rain: Confirms whether the leak has been resolved.
- Look for new signs: Identifies any remaining or new problem areas.
- Ensure long-term success: Verifies the repair is effective.
Protect Your Home Before the Problem Gets Worse
Fixing a roof leak quickly is one of the best ways to protect your home, but doing it the right way matters just as much. From identifying the source to making a lasting repair, each step plays a critical role in preventing further damage.
Stormgrade is known for delivering honest guidance, high-quality workmanship, and a customer-first experience that makes the entire process easier. Whether you are dealing with minor damage or a more serious issue, our team will help you find the right solution without cutting corners.
If you suspect a roof leak or want a professional opinion, reach out to Stormgrade today for a free inspection. We will help you understand your options, guide you through the next steps, and make sure your home is fully protected.