Warranties
The 7-Step Guide to Replacing a Window (Without the Guesswork)
If you want to know how to replace a window, the short answer is this: measure the opening accurately, remove the old unit carefully, set the new window level and plumb, insulate the gaps, seal the exterior, and restore the trim. It sounds simple, but each of those steps has details that determine whether the window performs well for 20 years or causes drafts and water damage within the first season.
This guide walks through the full process clearly, step by step, so you know exactly what’s involved whether you’re doing it yourself or hiring someone to do it for you.
- What the process actually looks like: A step-by-step breakdown of window removal, installation, and finishing from start to finish.
- Where mistakes happen: The specific steps where errors are most common and most costly to fix later.
- When to call a pro: The situations where DIY doesn’t make sense and professional installation is the smarter call.
Do You Actually Need to Replace the Window?
Before starting any replacement, it’s worth confirming that replacement is actually the right move. A window that just needs new weatherstripping or a hardware fix doesn’t need to be replaced, and replacing a window that could have been repaired is an unnecessary expense.
Knowing the difference comes down to a few specific signs.
What Are the Signs a Window Needs to Be Replaced?
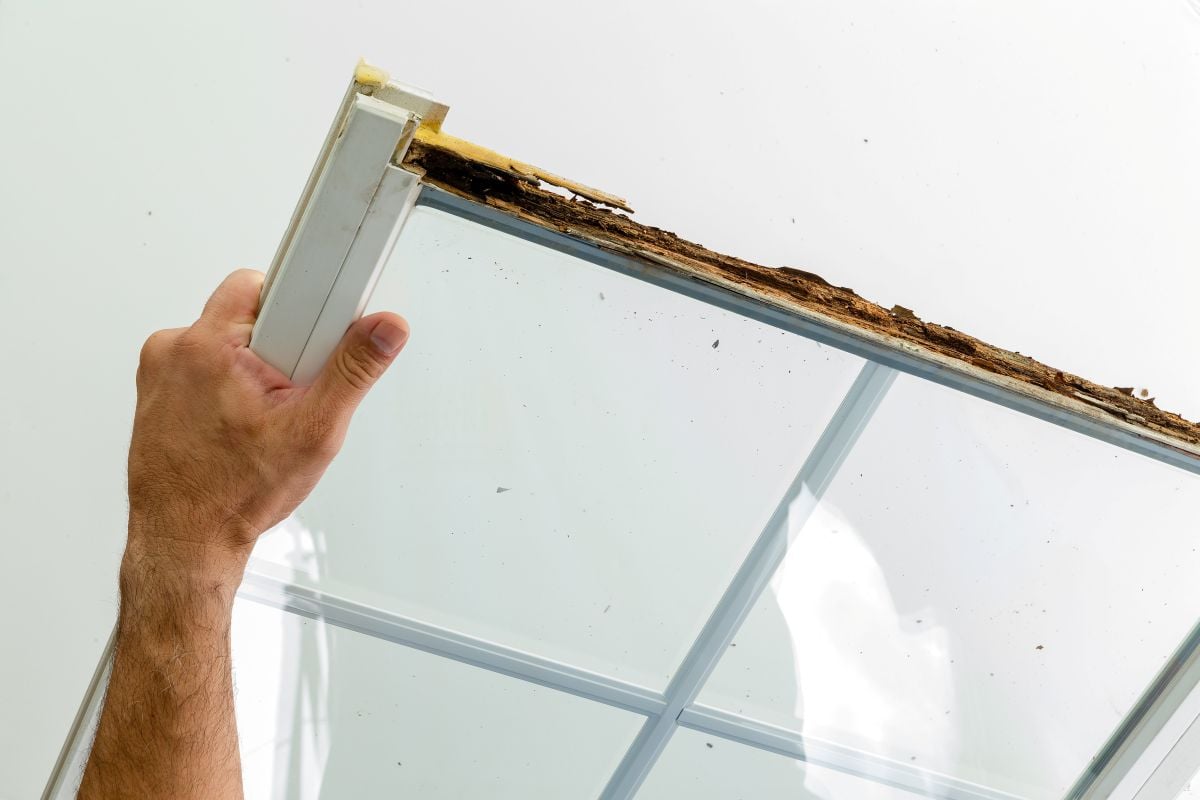
A window needs replacing when the frame, glass seal, or structural integrity has failed in a way that a repair cannot fix. The clearest sign is fogging or condensation trapped between double-pane glass, which means the insulated glass unit (IGU) has failed and the thermal barrier is gone. In areas like Wilmington and surrounding areas, coastal humidity and salt air speed up seal failure and frame deterioration faster than in drier inland climates.
- Condensation between panes: This means the IGU seal has failed. The insulating gas has escaped and the panes are no longer performing as designed.
- Drafts with the window fully closed: Air moving past a closed window indicates broken seals, warped frames, or failed weatherstripping that is no longer fixable.
- Rotting or warped frames: Wood frames that have rotted and vinyl or aluminum frames that have warped out of square cannot hold a proper seal and must be replaced entirely.
- Windows that stick, won’t latch, or won’t stay open: These are signs the frame has shifted or the hardware has failed beyond repair.
- Rising energy bills without another explanation: Inefficient windows force heating and cooling systems to work harder, which shows up directly on utility bills.
When Is a Repair the Better Option?
Repairs make sense when the window frame is structurally sound and the issue is limited to a single component. Replacing a broken latch, swapping out worn weatherstripping, or resealing a small gap around the exterior casing are all reasonable repairs that extend a window’s life without the cost of full replacement.
- Broken or worn hardware: Handles, locks, and balances are all replaceable parts that don’t require a new window.
- Failed weatherstripping: Weatherstripping can be peeled out and replaced in an afternoon with materials from any hardware store.
- Single cracked pane in an older single-pane window: If the frame is solid, replacing just the glass may be enough.
- Minor exterior caulk gaps: Recaulking around the exterior casing is a simple maintenance task that prevents water infiltration without replacement.
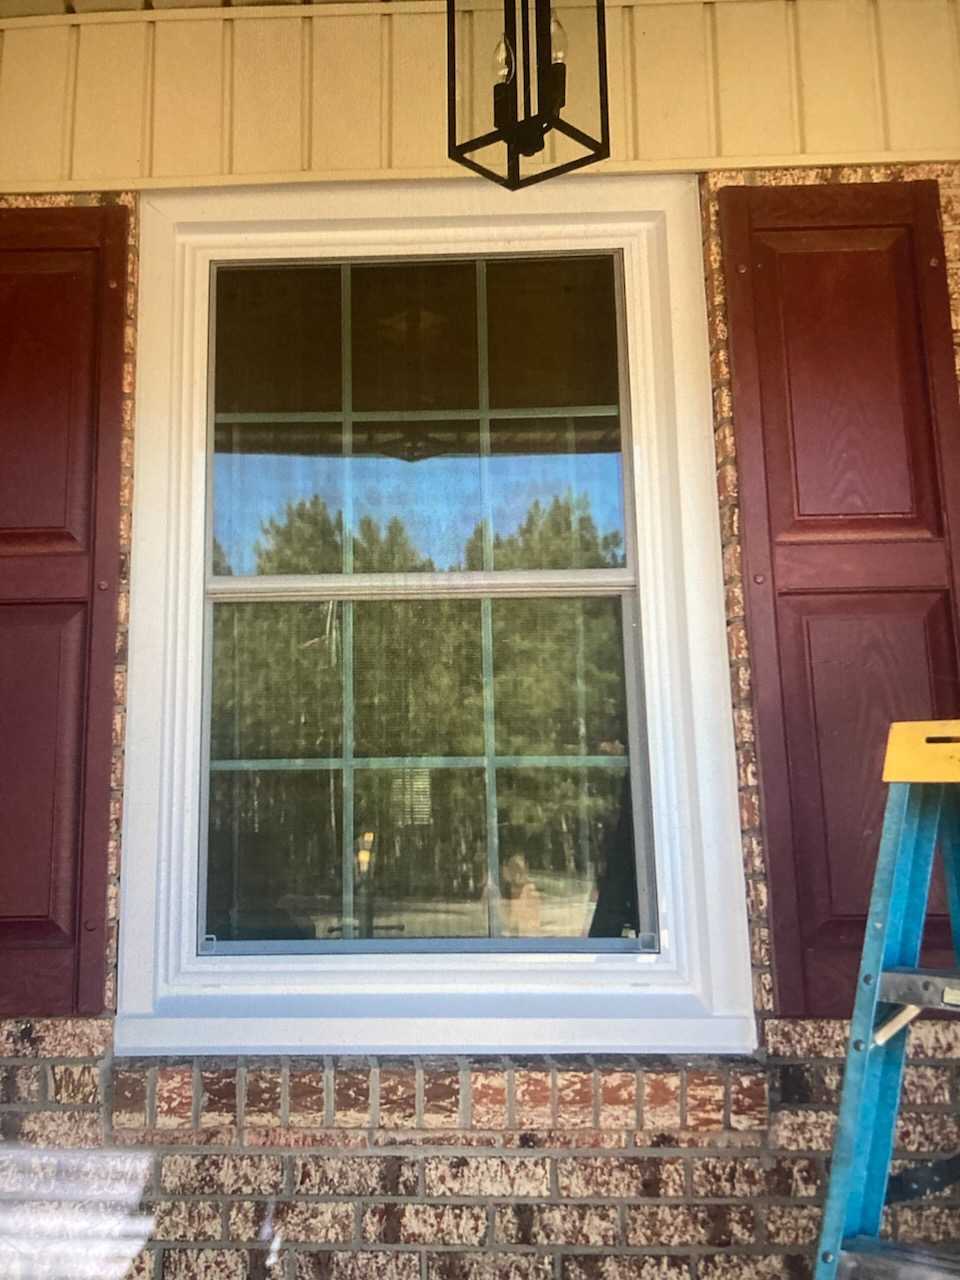
7-Step Window Replacement Process
Window replacement follows a logical sequence whether you’re doing a full-frame replacement or an insert replacement. Understanding each step helps you do the work correctly, spot problems early, and know what a professional installer should be doing on your behalf. Here is exactly what the process looks like from the first measurement to the final trim.
1. Measure the Rough Opening Correctly
Accurate measurement is the single most important step in window replacement. A window ordered with incorrect dimensions will not seal properly and may not fit at all. Measure the width of the rough opening at three points: the top, the middle, and the bottom. Measure the height at three points as well: the left side, the center, and the right side. Use the smallest measurement in each direction to order the replacement window, which ensures it will fit within the opening. For an insert replacement, measure the inside of the existing frame instead of the rough opening.
- Width measurement: Measure at the top, middle, and bottom of the opening. Use the smallest of the three numbers.
- Height measurement: Measure on the left, center, and right side of the opening. Again, use the smallest number.
- Insert vs. full-frame: For insert replacements, measure the inside dimensions of the existing frame. For full-frame replacements, measure the rough opening in the wall.
- Deduct for clearance: Most manufacturers require 1/4 inch of clearance on each side. Check the product instructions for the exact tolerance before ordering.
2. Remove the Interior Trim and Old Window
Before the old window can come out, the interior trim needs to be carefully removed. Use a utility knife to cut through any paint or caulk sealing the trim to the wall, then use a pry bar to work the casing loose. For an insert replacement, only the interior stops need to come out. For a full-frame replacement, all trim and the entire window assembly come out down to the rough framing. Work carefully to avoid damaging drywall or siding that will need to look good when the job is done.
- Score paint and caulk first: Running a utility knife along the seam before prying prevents tearing the drywall paper.
- Remove interior stops for insert replacement: The thin strips of wood holding the sashes in place come out first, then the sashes, then the parting bead.
- Full-frame removal: Cut any exterior caulk, remove fasteners, and lift the entire window unit out of the rough opening.
- Inspect the rough opening: Once the old window is out, check for rot, water damage, mold, or insulation gaps before proceeding.
3. Prepare the Opening
The rough opening needs to be clean, dry, square, and properly flashed before the new window goes in. This step is where many DIY installations go wrong. Skipping proper flashing or failing to address rot in the rough framing leads to water intrusion that can cause thousands of dollars in structural damage over time. The U.S. Department of Energy estimates that heat gain and heat loss through windows account for 25 to 30 percent of residential heating and cooling energy use, and most of that loss happens at poorly prepared openings and seals.
- Check for square: Use a framing square to verify the rough opening is square. An out-of-square opening means the window will not operate correctly after installation.
- Apply sill flashing: Self-adhering flashing tape along the sill and up the sides of the opening creates a water-resistant barrier behind the window.
- Address any rot: Rotted framing lumber must be replaced before installation. Installing a window into a rotted opening will result in failure.
- Install a sill pan if applicable: A sloped sill pan below the window directs any incidental water that enters back to the exterior rather than into the wall.
4. Set and Fasten the New Window
With the opening prepped, the new window can be installed. Apply a bead of caulk along the sill before setting the window in place, which prevents water from entering beneath the unit. Lift the window into the opening, center it, and check it for level and plumb before fastening. Use shims between the window frame and the rough framing to adjust the fit. Most windows are fastened through pre-drilled holes in the jambs or through a nailing fin on the exterior.
- Apply caulk to the sill before setting: This creates a bed seal beneath the window that prevents water infiltration from below.
- Check level and plumb: A window installed out of level will not operate correctly. Check with a level before driving any fasteners.
- Shim as needed: Insert shims at the corners and at the fastener locations to hold the window in position and square.
- Drive fasteners through the jambs: Follow the manufacturer instructions for fastener placement. Most windows specify screw locations to avoid distorting the frame.
5. Insulate and Seal the Gaps
Once the window is fastened, the gap between the window frame and the rough framing needs to be insulated and sealed. Use a minimal-expanding foam rated for windows and doors, not standard construction foam, which expands too aggressively and can bow the window frame and prevent proper operation. Fill the gap from the interior side, working around the entire perimeter. Once the foam cures, trim the excess flush with the framing.
- Use minimal-expanding window and door foam: Standard construction foam expands too much and can distort the window frame. Use foam labeled specifically for windows and doors.
- Fill the full perimeter: Work the foam into the gap all the way around the window, not just at the corners.
- Let it cure before trimming: Foam needs time to expand and set. Trim the excess flush with the framing once it is fully cured, usually after an hour.
- Avoid overfilling: Packing the gap too tightly can push back on the window frame and cause the sashes to bind.
6. Flash and Caulk the Exterior
Exterior sealing is what keeps water out of the wall assembly. Apply flashing tape over the top of the nailing fin and down the sides, overlapping the sill flashing that was installed in Step 3. Then apply a continuous bead of exterior-grade caulk around the perimeter of the window where it meets the siding. Do not caulk the bottom of the window on the exterior side, which would trap any water that finds its way in rather than allowing it to drain out.
- Apply head flashing last: The flashing sequence is sill first, then sides, then head. Each layer overlaps the one below it to shed water downward and outward.
- Caulk all three sides: Apply exterior caulk along the top and both sides where the window meets the siding. Leave the bottom open to allow drainage.
- Tool the caulk for adhesion: Pressing the caulk bead into the joint with a wet finger or caulk tool improves adhesion and creates a cleaner finish.
- Check for gaps in the nailing fin: Any gaps or lifted sections in the nailing fin should be pressed flat and covered with flashing tape before caulking over them.
7. Reinstall Interior Trim and Test the Window
The final step is restoring the interior finish and verifying that everything works correctly. Cut and nail the interior casing back into place, fill nail holes, and touch up paint as needed. Then test every function of the window before considering the job done. Open it, close it, lock it, and check that it stays in position. A window that binds, sticks, or won’t latch properly after installation needs to be adjusted before the job is finished.
- Reinstall interior casing: Nail the casing back into place at the same profile and reveal as before. Fill nail holes with spackle and touch up paint once dry.
- Test operation fully: Open and close the window through its full range of motion. A double-hung should slide smoothly in both sashes. A casement should crank open and swing closed without binding.
- Check the latch: The lock should engage fully without forcing. If it doesn’t, the sash may need to be adjusted by loosening and repositioning the strike plate.
- Inspect from both sides: Look at the window from the exterior to confirm the casing and caulk look clean and finished. Check from the interior for any foam or insulation showing at the edges.
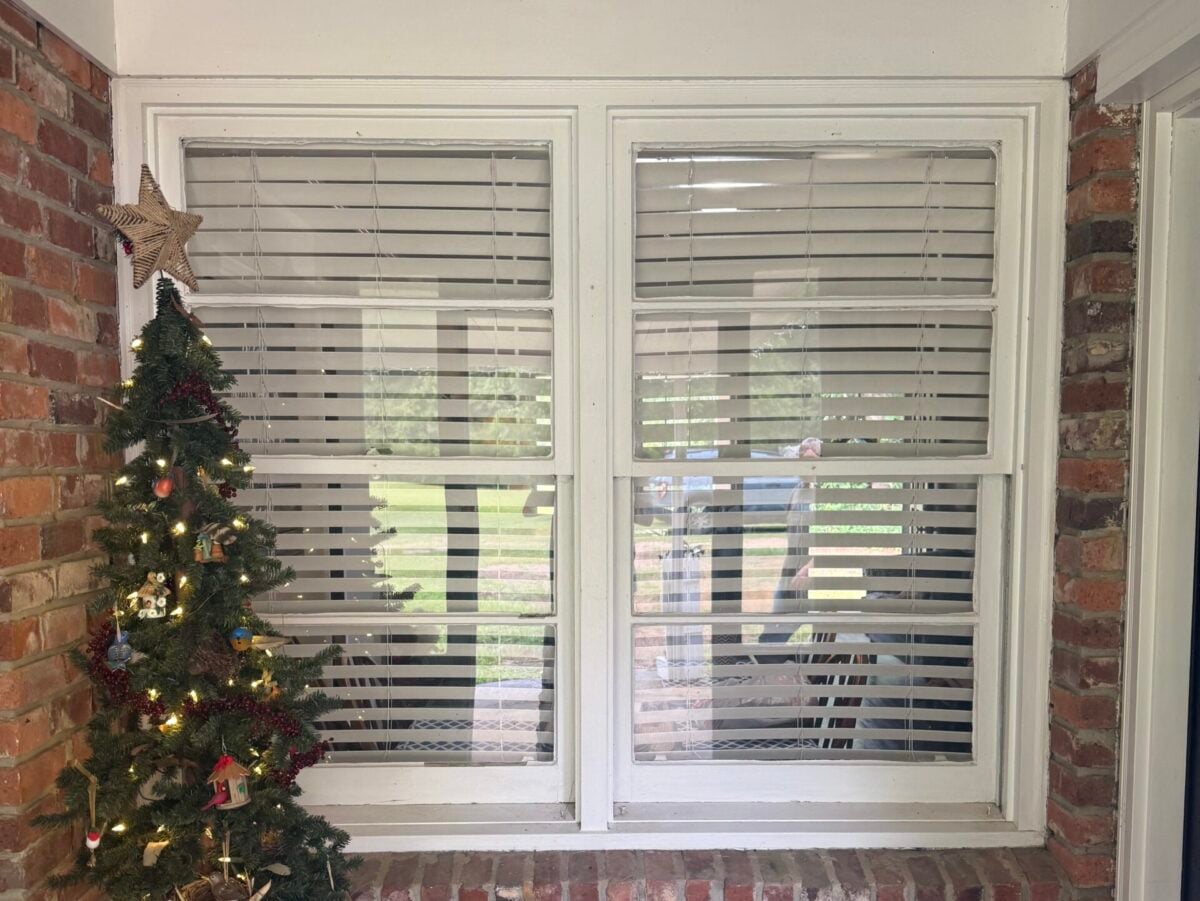
Full-Frame vs. Insert Replacement: Which Do You Need?
These two replacement methods are not interchangeable. Choosing the wrong one can mean either unnecessary cost and disruption or a failed installation that leaves problems behind.
An insert replacement, also called a pocket replacement, drops a new window unit into the existing frame without disturbing the surrounding trim, siding, or interior finish. It is faster, less expensive, and less disruptive. It works when the existing frame is square, structurally sound, and free from rot or water damage. The tradeoff is a slightly smaller glass area, since the new window unit sits inside the old frame.
A full-frame replacement removes everything including the window frame, exterior casing, and interior trim down to the rough framing. It is the right choice when the frame has rotted, the opening is out of square, or the homeowner wants to change the size or style of the window. Full-frame replacements cost more and take longer, but they allow problems in the wall assembly to be corrected at the same time.
In Charleston and surrounding areas, full-frame replacements are common due to older housing stock and the moisture-related frame damage that comes with coastal humidity. If there is any doubt about the condition of the frame, a free inspection from a qualified contractor will tell you which method is appropriate.
Frequently Asked Questions
How long does it take to replace a window?
A single window replacement typically takes two to four hours for a professional installer. Replacing a full home of eight to twelve windows is usually completed in one day. Custom or oversized windows may require longer lead times for manufacturing before installation can begin.
Can I replace a window myself?
Yes, but it carries real risks. Improper measurement results in a window that won’t fit correctly. Poor sealing leads to drafts and water damage inside the wall. Many manufacturers also void their warranties if installation is not done by a licensed professional. DIY is reasonable for a straightforward single or double-hung insert replacement in a sound frame. Full-frame replacements, large or custom windows, and any job involving rot or structural damage are better left to a professional.
How much does window replacement cost in North Carolina and South Carolina?
Most homeowners spend between $300 and $2,100 per window, with a national average around $850. Vinyl double-hung windows sit in the lower to middle part of that range. Larger windows, specialty shapes, and premium materials like fiberglass push costs higher. Replacing multiple windows at once typically lowers the per-window cost due to labor efficiencies.
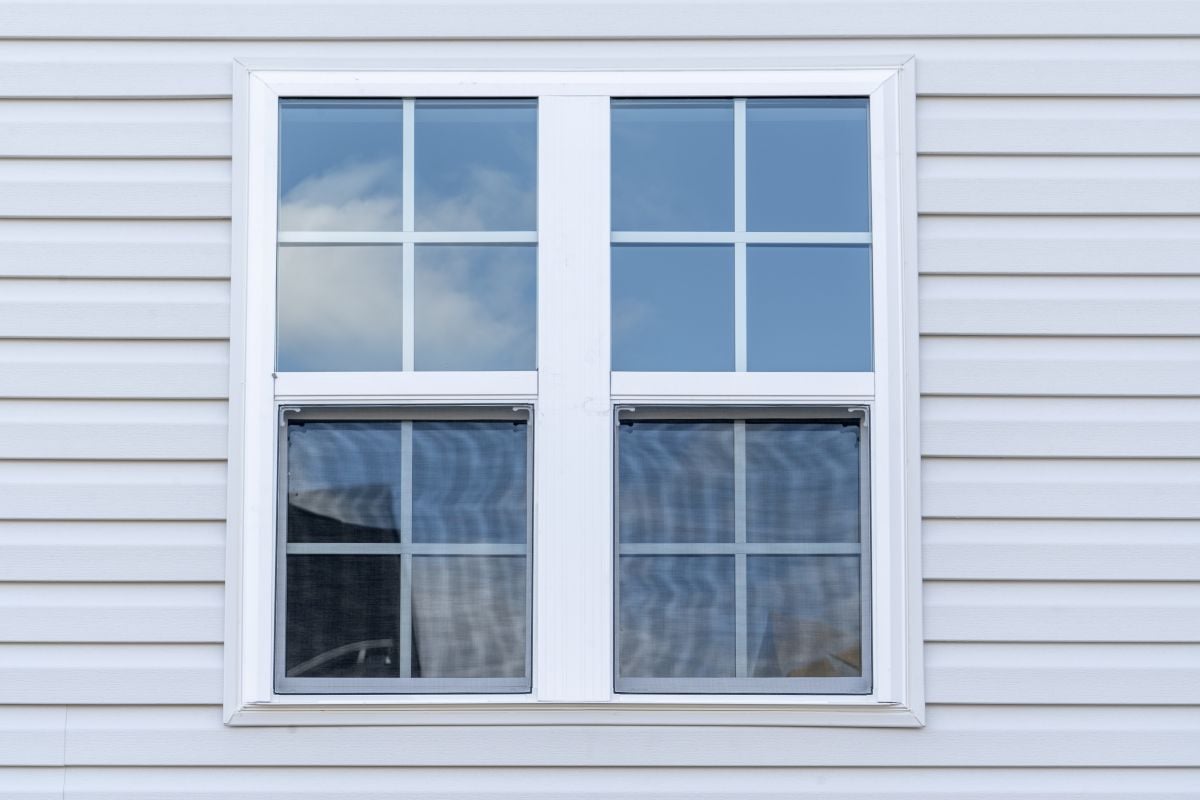
What is the difference between single-hung and double-hung windows?
A single-hung window has one operable sash: the bottom slides up and the top is fixed. A double-hung window has two operable sashes, so both the top and the bottom can open. Double-hung windows are easier to clean from inside the home, since both sashes tilt inward on most modern units.
Do I need a permit to replace a window in NC or SC?
Permit requirements vary by city and county. Full-frame replacements that change the size of the opening generally require a permit. Insert replacements that maintain the same opening size may not, depending on local jurisdiction. A licensed contractor will know the local requirements and handle the permitting process as part of the job.
How do I know if my new windows qualify for a federal tax credit?
ENERGY STAR certified windows qualify for a federal tax credit of 30 percent of the installed cost, capped at $600, through 2032 under the Inflation Reduction Act. The windows must meet ENERGY STAR requirements for the climate zone in which your home is located. Consult a tax professional to confirm eligibility for your specific situation.
Stormgrade Makes Window Replacement Simple in the Carolinas
Understanding how to replace a window is the first step. Getting it done correctly is the next one, and that comes down to the contractor you choose. Stormgrade is a family-owned, BBB Accredited window and exterior contractor serving homeowners throughout North Carolina and South Carolina. As an authorized Vytex window installer with warranties available on both products and workmanship, Stormgrade handles the measurement, installation, flashing, sealing, and finishing the right way the first time.
If you have a window that is fogging, drafty, damaged, or just overdue for an upgrade, the place to start is a free inspection. Stormgrade can typically get on-site within 24 hours, assess the condition of your windows and frames at no cost, and give you a clear recommendation on whether repair or replacement makes sense. Flexible financing options are available for homeowners who want to move forward without delay.
Reach out to Stormgrade today to schedule your free window inspection and get a no-pressure quote tailored to your home. The proof is in the roof, and it’s in every window we install.